Client Setup
Creating a Client
Step 1:
To create a client, you can click on the "All Clients" navigation bar item, found on the left beneath the "CLIENTS" sub-heading.
This will take you to the following screen.
To begin, click on the
+ Client
button located at the top right-hand corner of the screen.

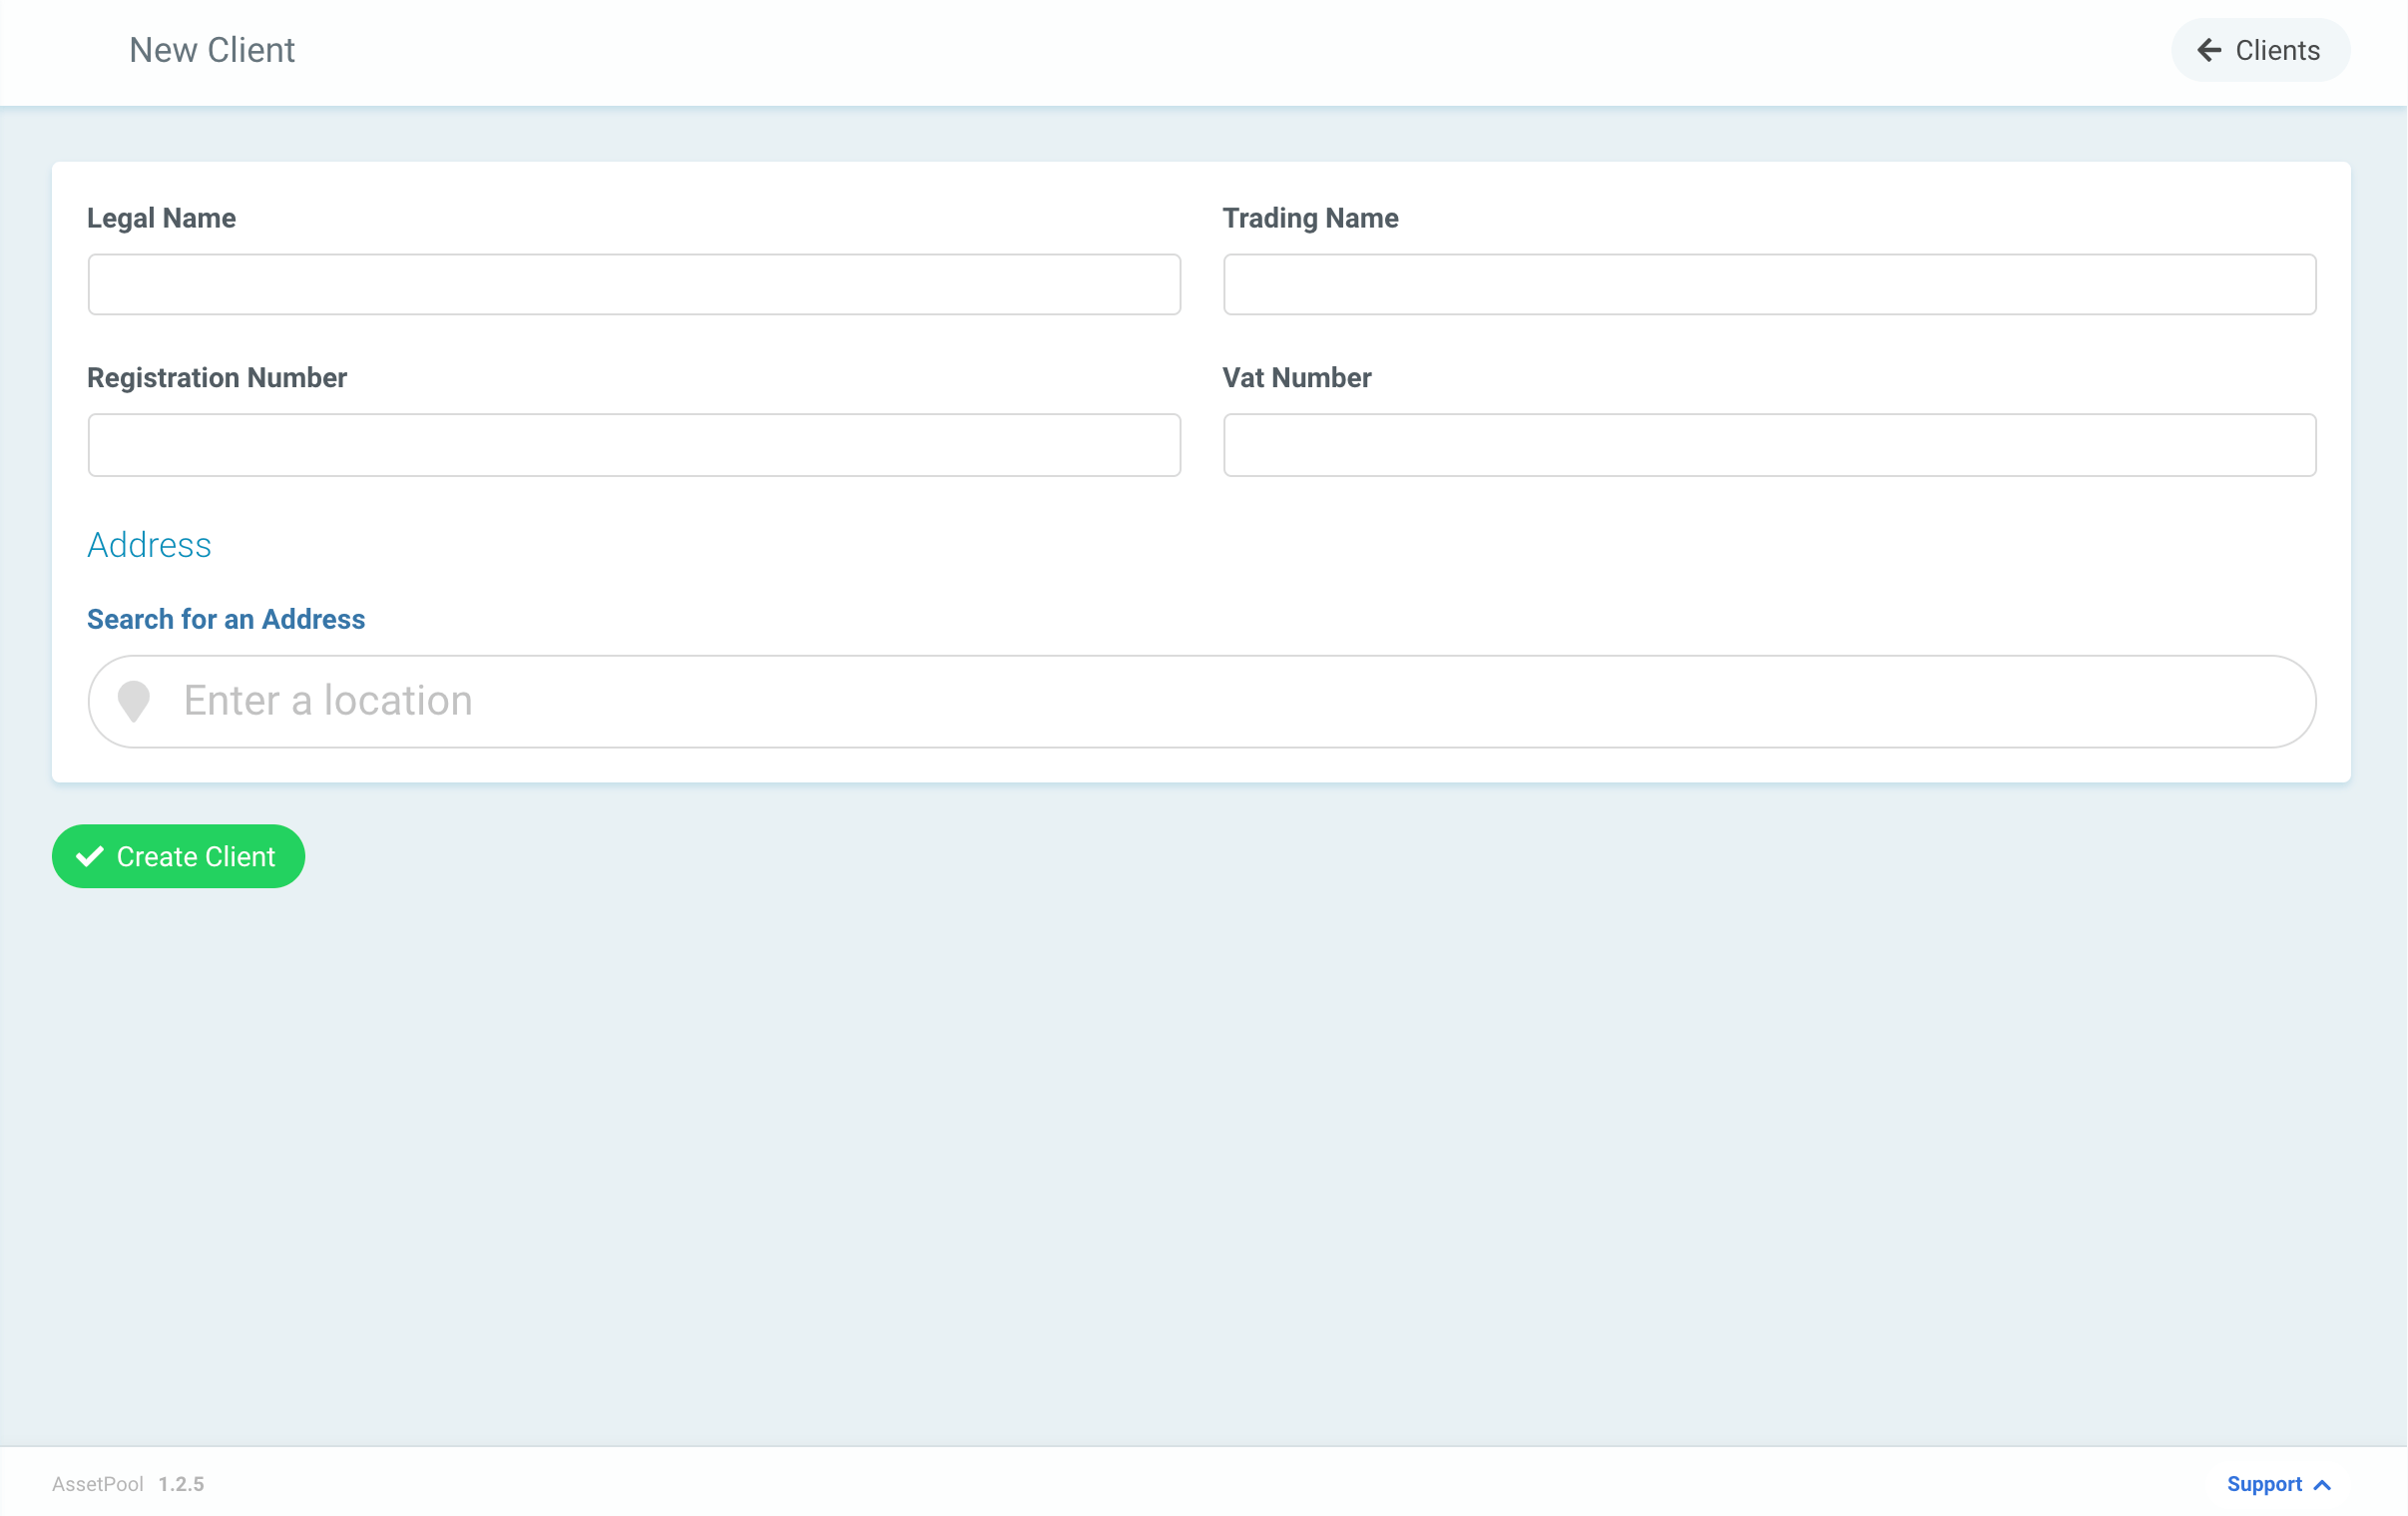
Step 2:
You will then be taken to the screen below to fill in all the client details.
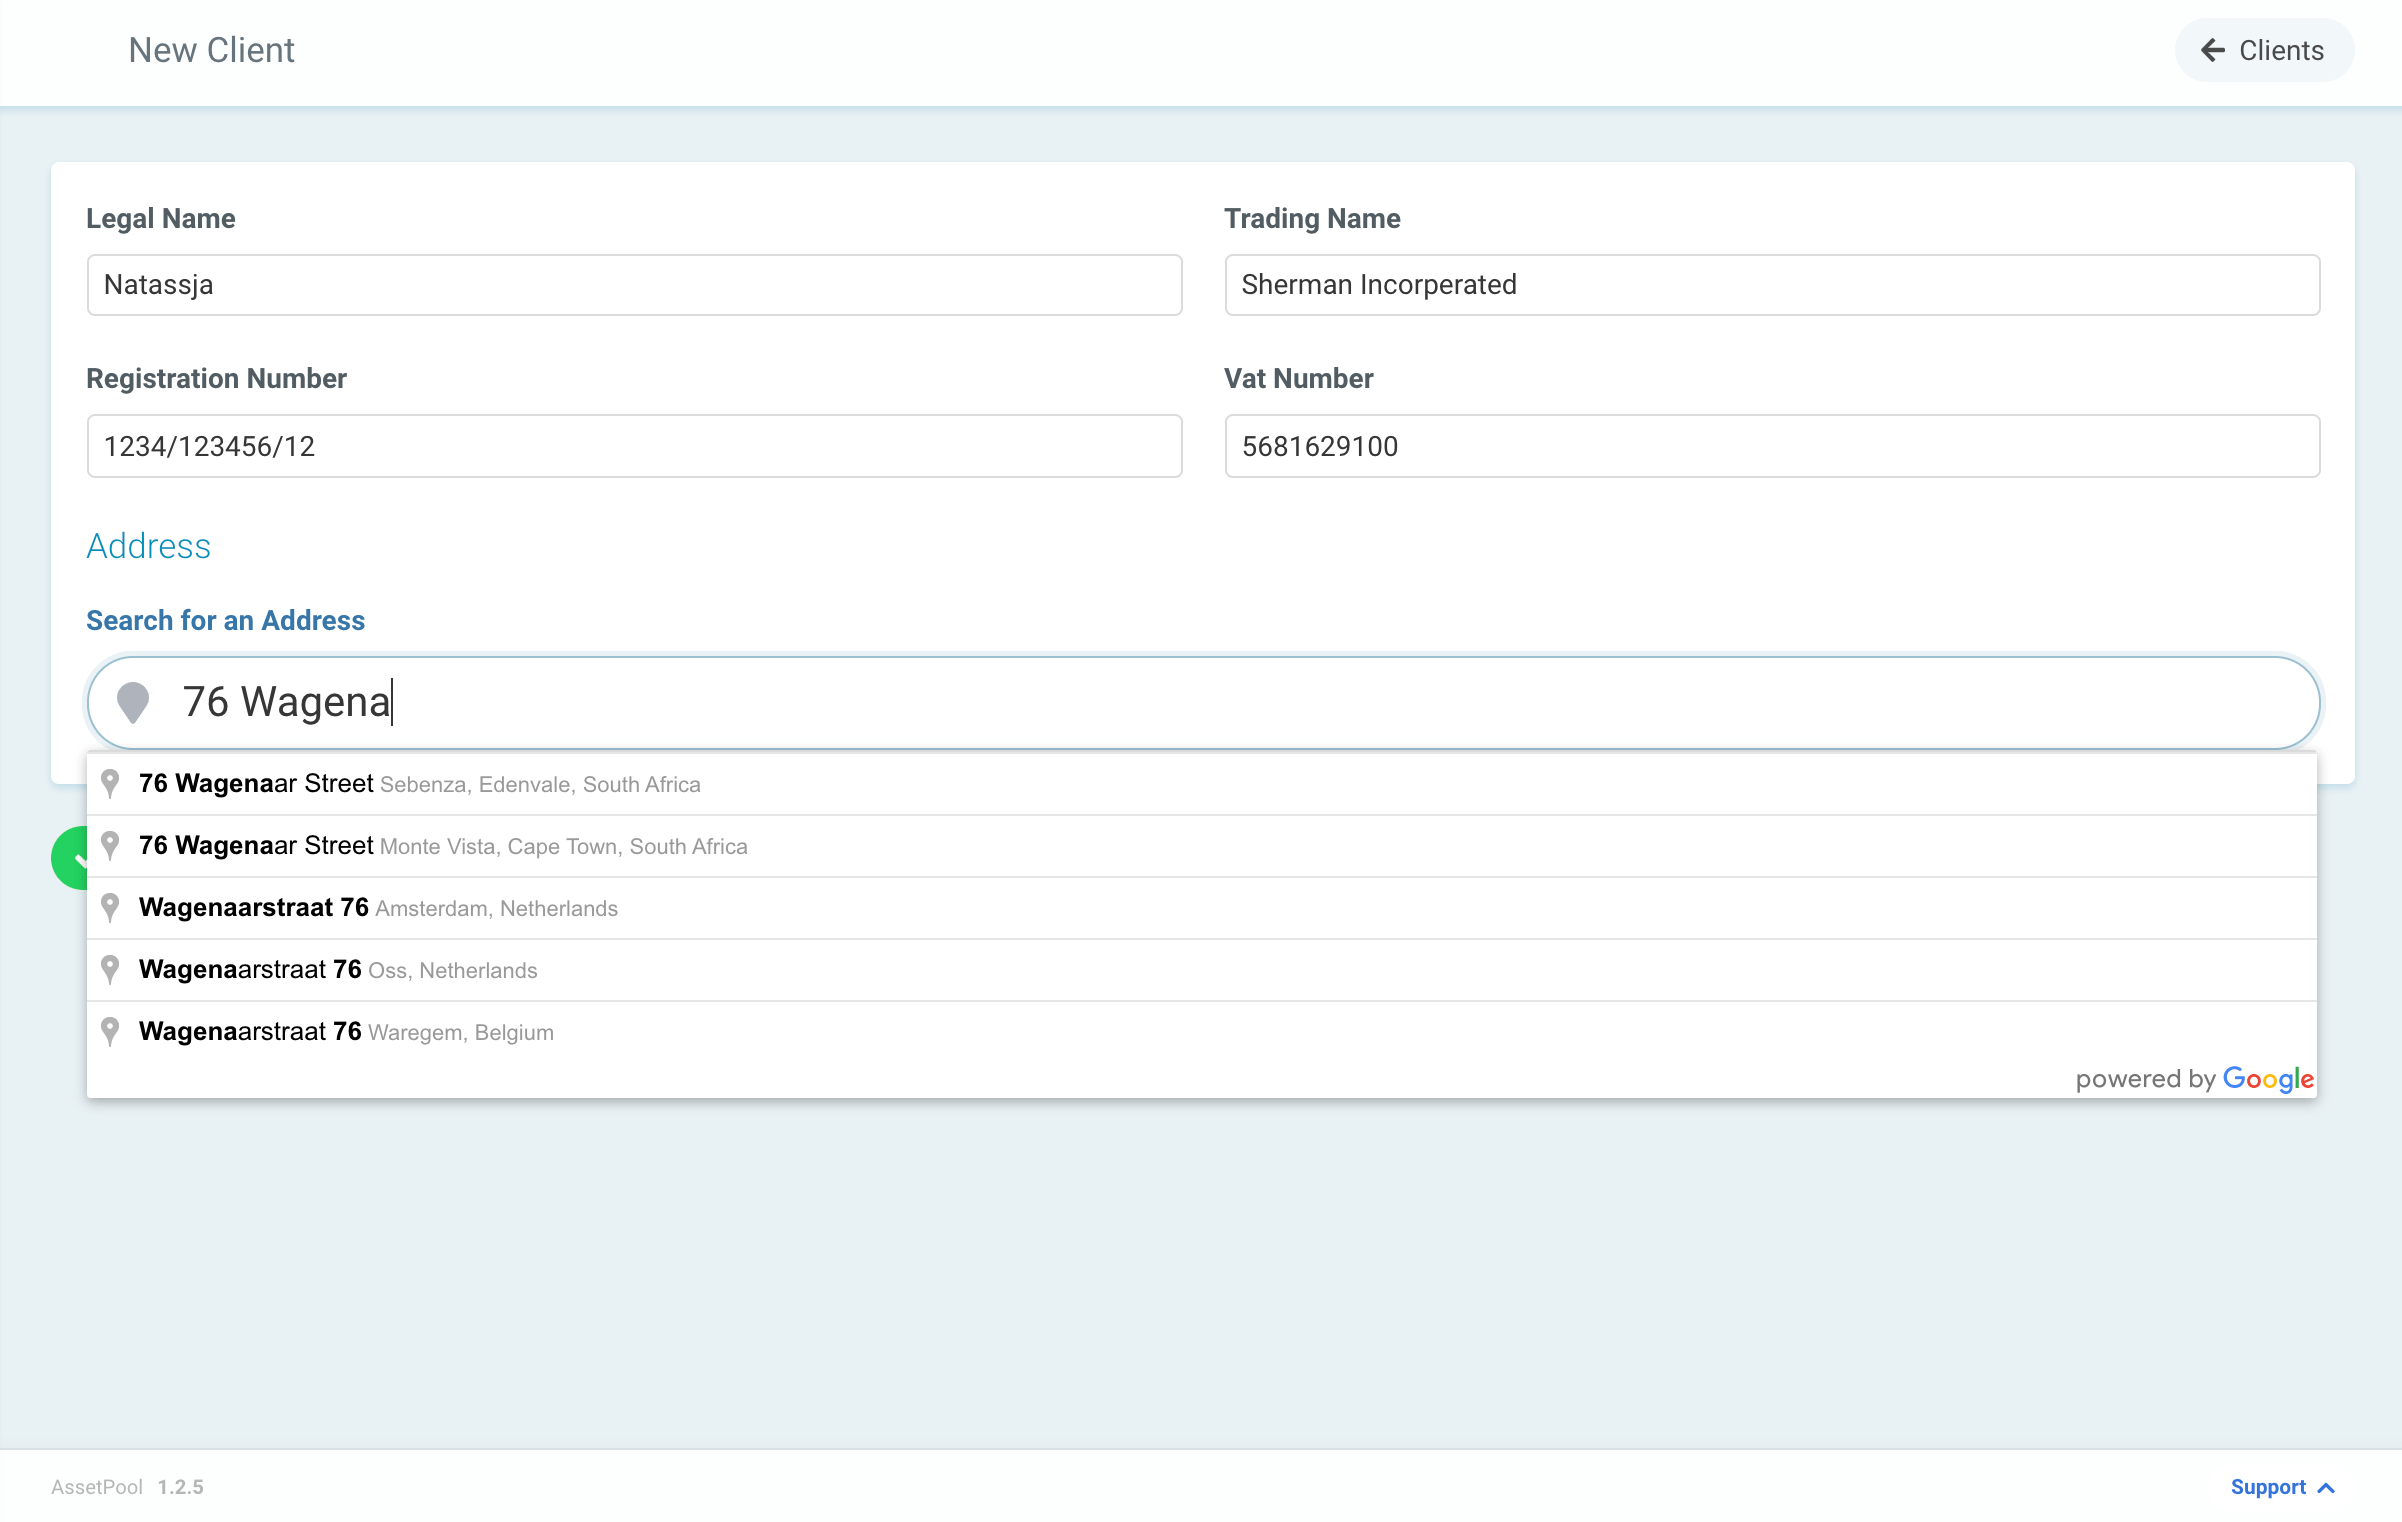
You are able to search for & select an existing address, which will complete the Address details automatically.
Specifying the correct timezone is extremely important.
If a timezone is incorrect, jobs could be scheduled for the correct time but because they are not scheduled within the correct timezone, jobs will be scheduled incorrectly.

Step 3:
Once you have completed all the below client details, click the
✓ Create Client
button to save your new client.
You have now successfully created a Client!
Next you will find yourself at the screen below, ready to add a site.
